· Pandas · 3 min read
Getting started with Python Pandas - Setup Guide
Overview
In this guide, we will cover the easiest way to get setup a local environment for Python Pandas Development.
Anaconda
Anaconda is a free and open-source distribution of the Python and R programming languages for scientific computing, data science, and machine learning. It includes a wide range of packages and tools for data analysis and visualization, as well as popular libraries such as NumPy, Pandas, scikit-learn, and TensorFlow.
One of the main benefits of Anaconda is that it simplifies the process of installing and managing packages and libraries. Instead of installing each package individually, you can use Anaconda to install everything you need in one go. Anaconda also comes with a package manager called conda, which allows you to easily install, update, and remove packages, as well as create and manage virtual environments.
Installing Anaconda
-
Download Anaconda: The first step is to download Anaconda from the Anaconda website (https://www.anaconda.com/products/individual). You should select the version that is compatible with your operating system (e.g., Windows, macOS, or Linux).
-
Install Anaconda: Once the download is complete, open the installation file and follow the prompts to install Anaconda. You may be asked to choose which components to install and where to install Anaconda. It is recommended to accept the default options.
-
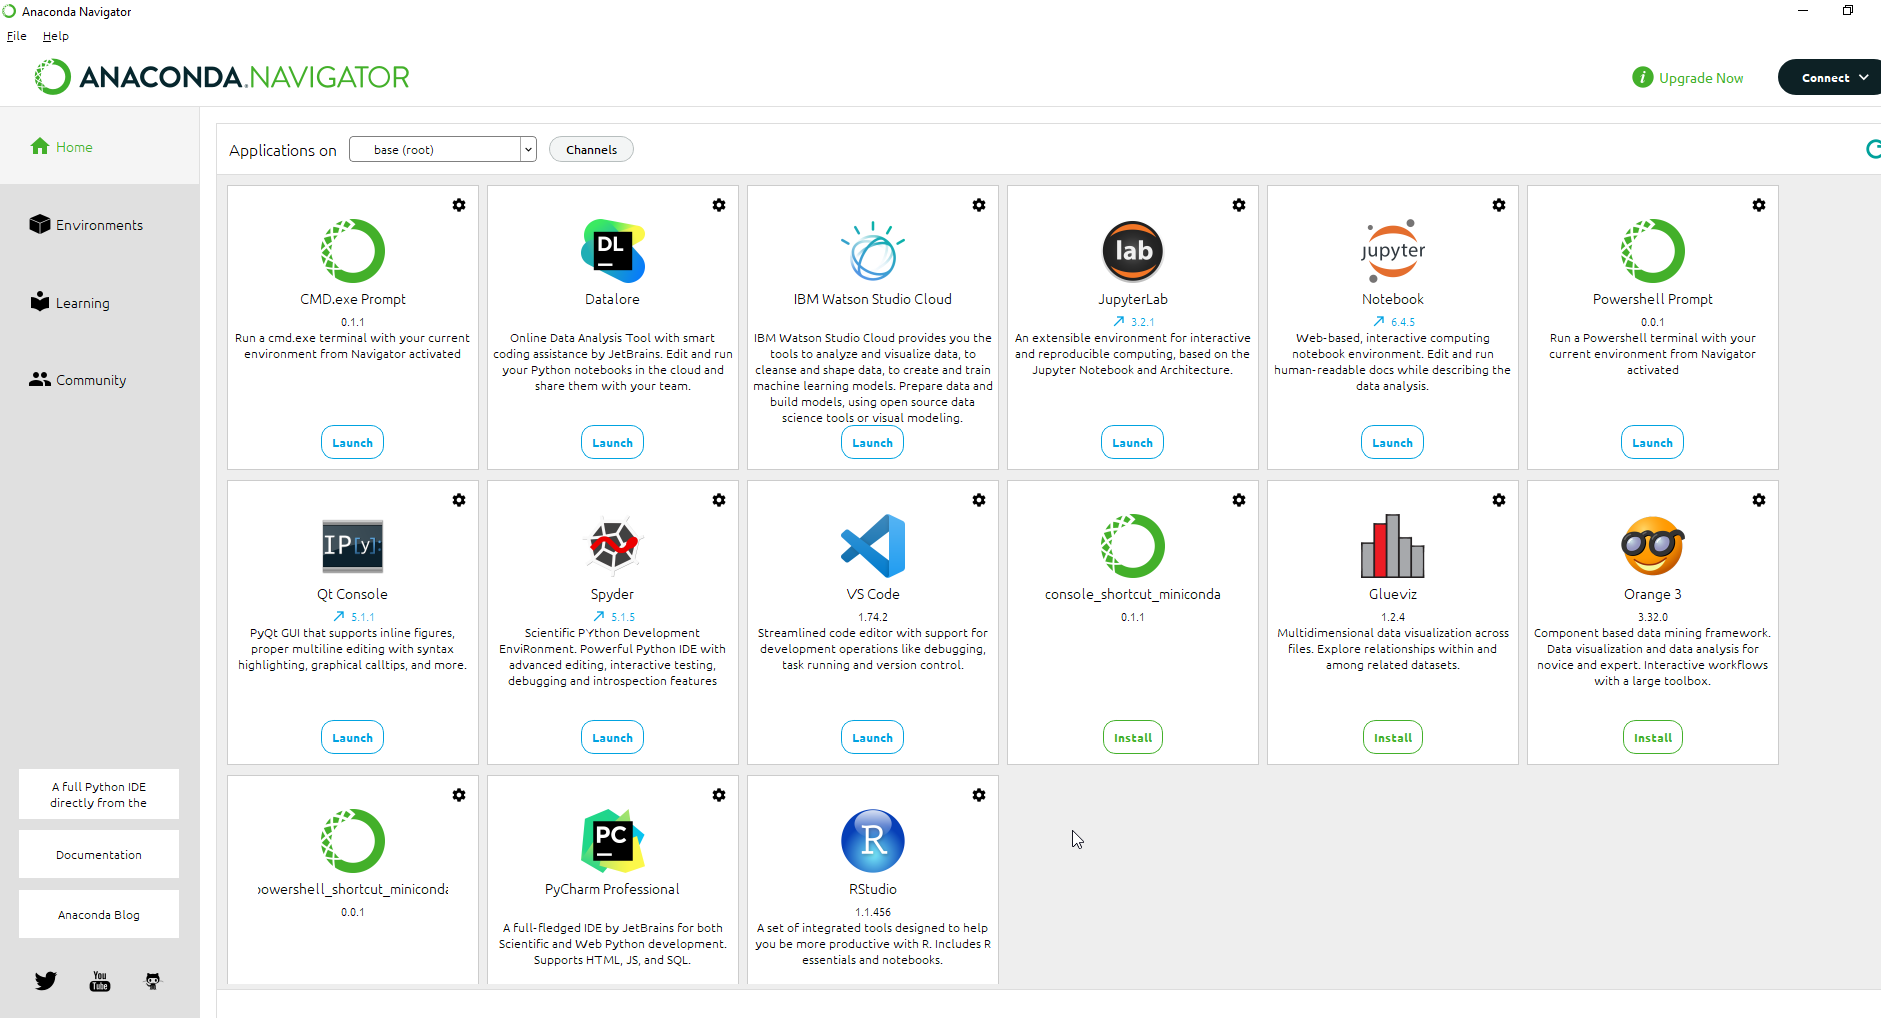
Launch Anaconda Navigator: After the installation is complete, launch Anaconda Navigator. This will open a window that allows you to manage your Anaconda installation and launch various applications, including Jupyter notebooks.
Once you’ve completed the steps above, you should see a screen like this
Jupyter Notebooks
We’re going to be running our code in Jupyter notebooks. One of the main benefits of Jupyter notebooks is that they allow you to write and run code in a flexible and interactive way. You can mix code blocks with text, equations, and visualizations, and you can run the code blocks one at a time or all at once. This makes it easy to test and debug code, as well as to document and share your work.
To get started, simply hit launch where you see Jupyter in Anaconda Navigator.
This will launch a terminal session, along with a window in your web browser where you can navigate.
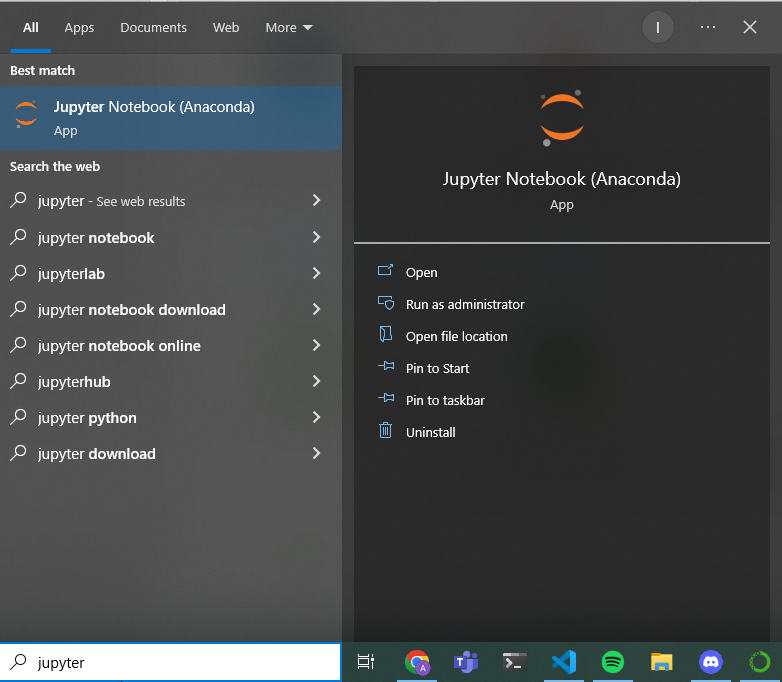
If you just want to launch a Jupyter notebook, you can also just search for Jupyter and launch from there
Create a new notebook
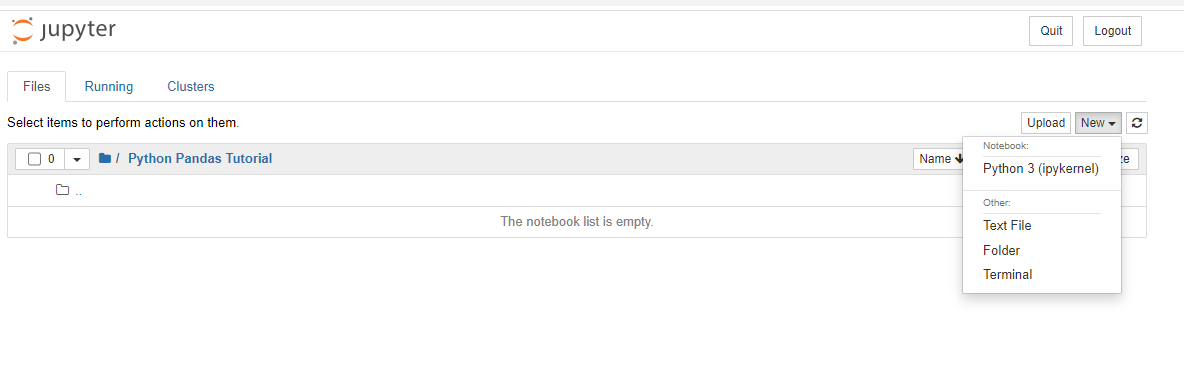
I’ve created a folder called Python Pandas Tutorial which I will be using to store all of the files for this course.
From there, in the top right you should see a button for new. Simply hit new and choose the Python Notebook.
This should launch another web browser window, and you’re now ready to start writing some code!
Test pandas is working
You should be able to run the following code by pasting this into the first cell, and hitting the run button. The output should be similar to mine, but the important part is that it doesn’t return an error. It will look slightly different depending on when your install happened.
import pandas as pd
print(pd)
Output
Output: <module 'pandas' from 'F:\\Anaconda\\lib\\site-packages\\pandas\\__init__.py'>
If pandas is not working
If for some reason you are getting an error, you may need to install the pandas package. The simplest way for us to do this is simply install the pandas package locally on our system
Open up Anaconda Prompt
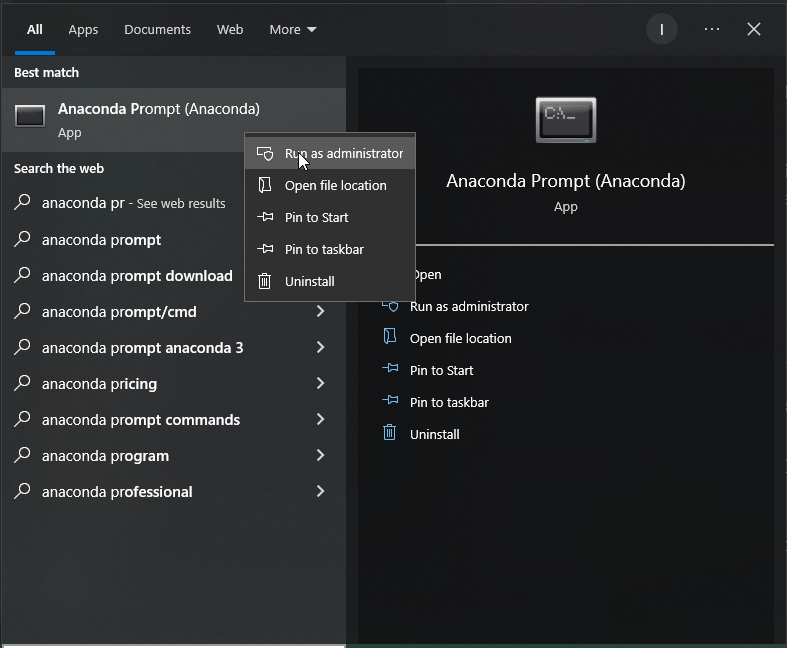
Run the following code by typing into the terminal and hitting enter.
pip install pandas
Close out Anaconda prompt, close your notebook and repeat the steps above. It should now be working.
Now that you’re all setup, let’s dive more into Jupyter notebooks so that you can learn how they work.
In this guide, we will go over some key functionality of Jupyter notebooks that are essential to learn.